Can You Restore Headlights After a DIY Kit Failed?
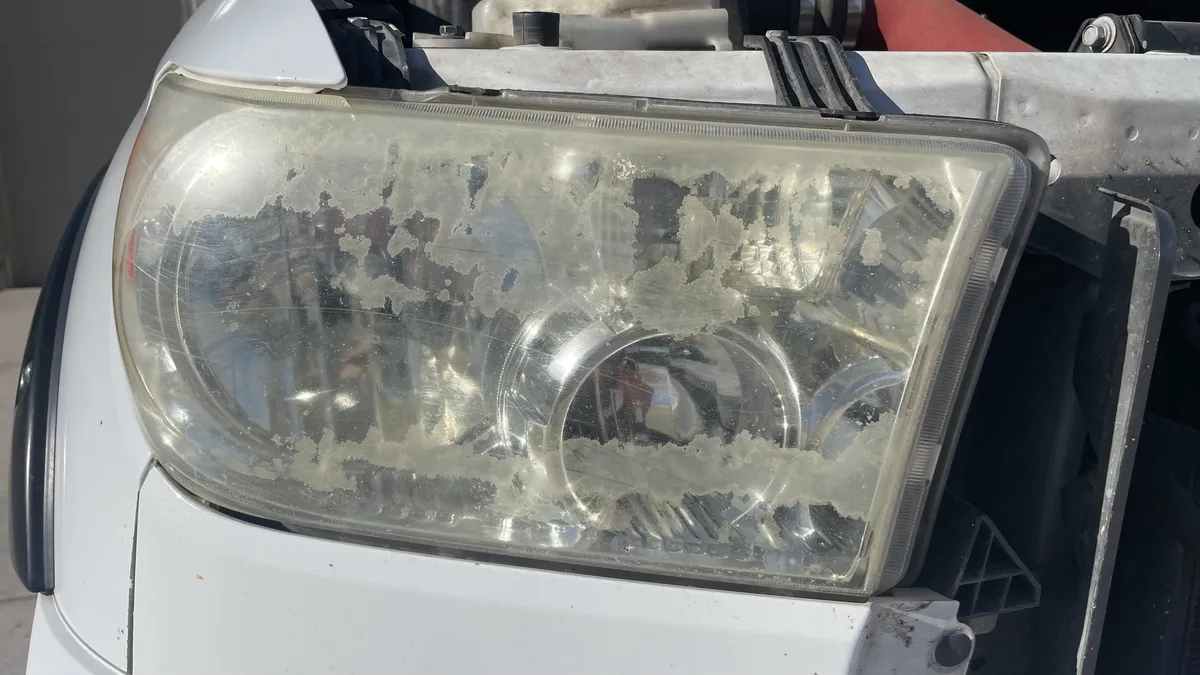
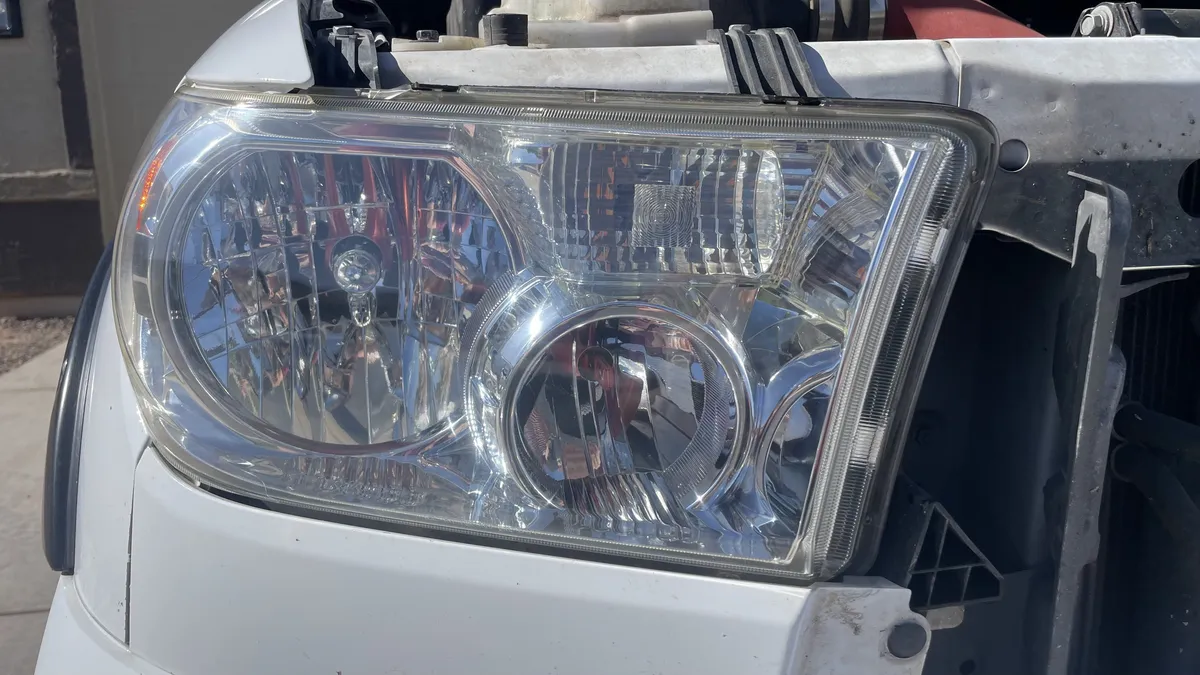
A failed kit does not mean replacement, but the next step should be diagnosis, not another product layered over the same damage.
Published 2026-06-07. Modified 2026-06-21. Reading time: 3 min read. Publisher: Tucson Headlight Restoration.
A failed kit is not one single problem
Some failed DIY results are still correctable. Others can only be improved to a limited point, and some reveal damage that should move toward repair or replacement review.
The mistake is treating every failed kit the same. More cleaner, more sanding, or another coating can make a restorable lens harder to correct.
Still fixable, limited result, or likely replacement
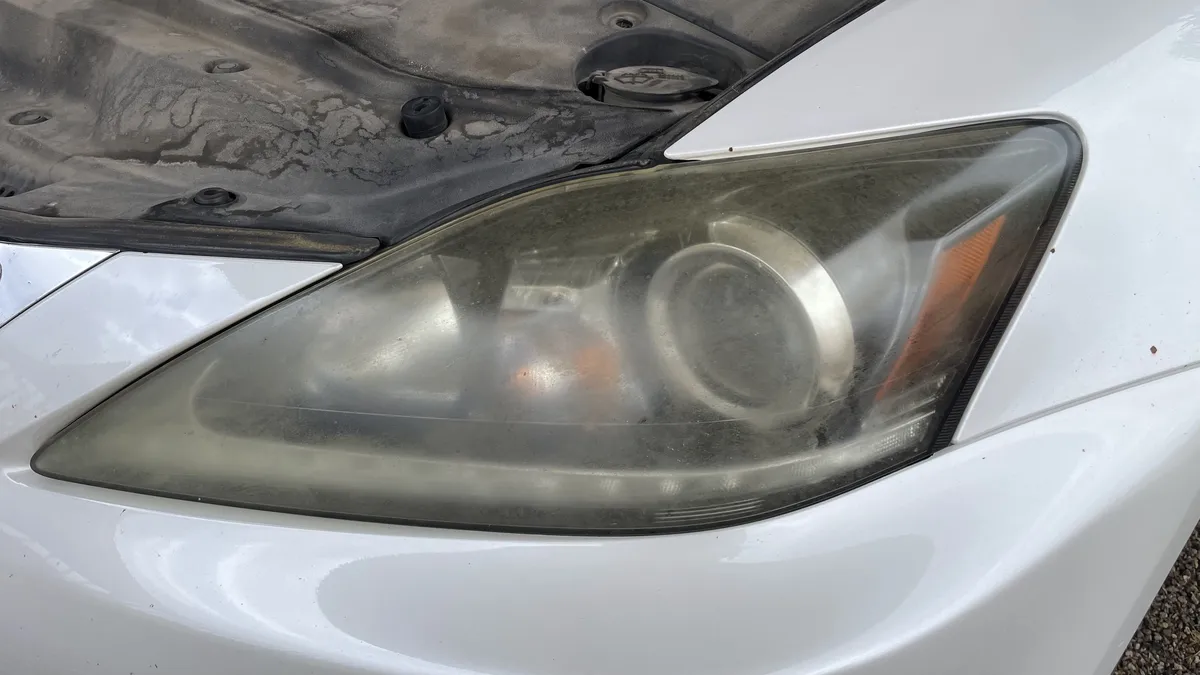
Use dry daylight photos, not a wet lens, to sort the failed result. Look at both headlights and note whether the damage is on the outside or appears behind the lens.
If you have not already, compare the mistake with the before buying a kit guide.
| What you see | Likely path | Why |
|---|---|---|
| Light haze, shallow sanding marks, patchy final step. | Often still fixable. | The damage may be exterior and correctable with controlled refinement. |
| Deep scratches, uneven sanding, old coating buildup. | Limited result or professional review. | More correction may help, but some marks can remain visible. |
| Moisture inside, cracks, deep crazing, broken tabs. | Repair or replacement review. | Exterior restoration cannot fix internal or structural failure. |
What not to do after a failed kit
Do not keep stacking products over a hazy result. Do not sand aggressively without knowing how deep the marks are. Do not coat over chalky plastic, trapped residue, or moisture.
Also avoid judging the result while wet. Water can hide scratches and remaining oxidation until after the next product is applied.
Why kits fail in Tucson
Common causes include weak prep, skipped sanding steps, uneven pressure, direct sun, dust contamination, final protection over residue, and washing too soon after the last step.
Tucson UV and heat can make a weak finish look worse faster, especially on vehicles parked outdoors all week.
When professional recovery makes sense
Professional review makes sense when the lens is rough, uneven, or important enough that you do not want to risk another round. The process should start with inspection, preparation, masking, controlled exterior correction, final clarity check, UV protection, and honest limits.
Compare the full process in what professional restoration includes.
Photos to send after a failed kit
Send dry close-ups of each headlight, angled photos that catch scratches, one front vehicle photo, year, make, model, Tucson-area location, and the product or tool used.
Mention whether the lens feels rough, whether one side is worse, and whether any moisture or cracks are visible.
Common questions
Can a failed DIY headlight kit be fixed?
Sometimes. Shallow scratches, haze, or uneven coating may be correctable, but deep gouges, internal moisture, cracks, or crazing can limit the result.
Should I try another kit after the first one failed?
Not before diagnosis. Another kit can add scratches, residue, or coating buildup that makes recovery harder.
What photos help after a failed kit?
Dry close-ups, angled photos, a front vehicle photo, vehicle details, location, and a note about the product, sanding, or drill attachment used.
Related service and decision pages
Before buying a kit, send photos if you are not sure
Retail kits can help some mild lenses, but rough oxidation, peeling coating, moisture, cracks, or failed DIY attempts change the decision.
- Send both headlights dry in daylight.
- Mention the kit or product you are considering.
- Include any prior sanding, coating, cracks, or moisture.